Glorious Chocolate Playdough!
This past school year I became a member of Pinterest. As an educator I have found some helpful ways to use Pinterest that save me time and give me a way to organize information. And of course I love the fact that there’s a visual reference to the content. The only drawback I’ve found is that I often have to google the pin topic in order to get to the info, instead of being able to go directly to the link from the Pinterest pin.
When I first began looking at Pinterest I noticed a lot of recipes for art materials. I started collecting them in a board. Then I actually tried one of the recipes which was for cooked chocolate playdough. The playdough came out looking and smelling like fudge. My students loved it! The only problem of course is that it is not at all edible! It’s a recipe I’ve now used several times. I’ve tried about 15 recipes and some like the chocolate playdough are terrific, and some made me glad I tested the recipe, because the results were unsatisfactory. Thankfully none of the ingredients has been particularly expensive as they are mostly ingredients you can find at the grocery store. I taught a class in the homeschool program, where I have been teaching two days a week for the last four years, in which I helped students to make these recipes and then have the fun of using the materials. It was a great experience for them in that they practiced measuring and mixing skills, and got some practice at the stove in a safe, structured environment. They saw chemical reactions, developed fine motor skills, and expressed their creativity! I have used these materials with preschoolers, primary grade students, and upper elementary students. The upper elementary students really enjoyed creating and exploring the materials as much as the younger children.
Here’s a brief review of some of the recipes I tried. I am going to include links to the recipes rather than writing each recipe here.
Cinnamon Ornament Dough: This dough is fun to make from cinnamon, applesauce, and glue. It almost feels like magic when it seems to miraculously turn into a dough you can roll out or sculpt with. And it’s great to let the kids mush it all together! It definitely smells terrific! You can press things into it to make texture, you can paint it, and glue things like sequins onto it. When your ornaments dry they are fun to hang up. Perhaps more crafty than arty, it’s still a great recipe to have in one’s toolkit!

Glitter glue was a great material for adding detail to the cinnamon ornaments.
http://crafts.kaboose.com/cinnamon-dough-ornaments.html
Chocolate Playdough : This recipe smells so divine and looks so delicious, it’s such a shame it’s not edible! I usually double or triple the recipe, because for a group of 4-6 students one batch is really not enough.
I used the quantities from the following recipe, but I cooked my dough on the stove top instead of just adding boiling water, because that’s how I usually have made playdough. I was actually surprised when I reviewed the recipe that it wasn’t meant to be cooked on the stove. (I guess I was more concerned with ingredients than directions!) I didn’t have glycerin, and when the dough cooked it had a nice gloss even without it. A dash of cinnamon adds to the lovely, chocolatey scent too!
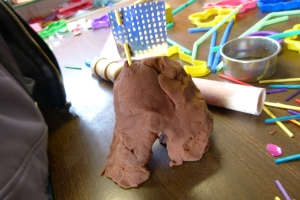
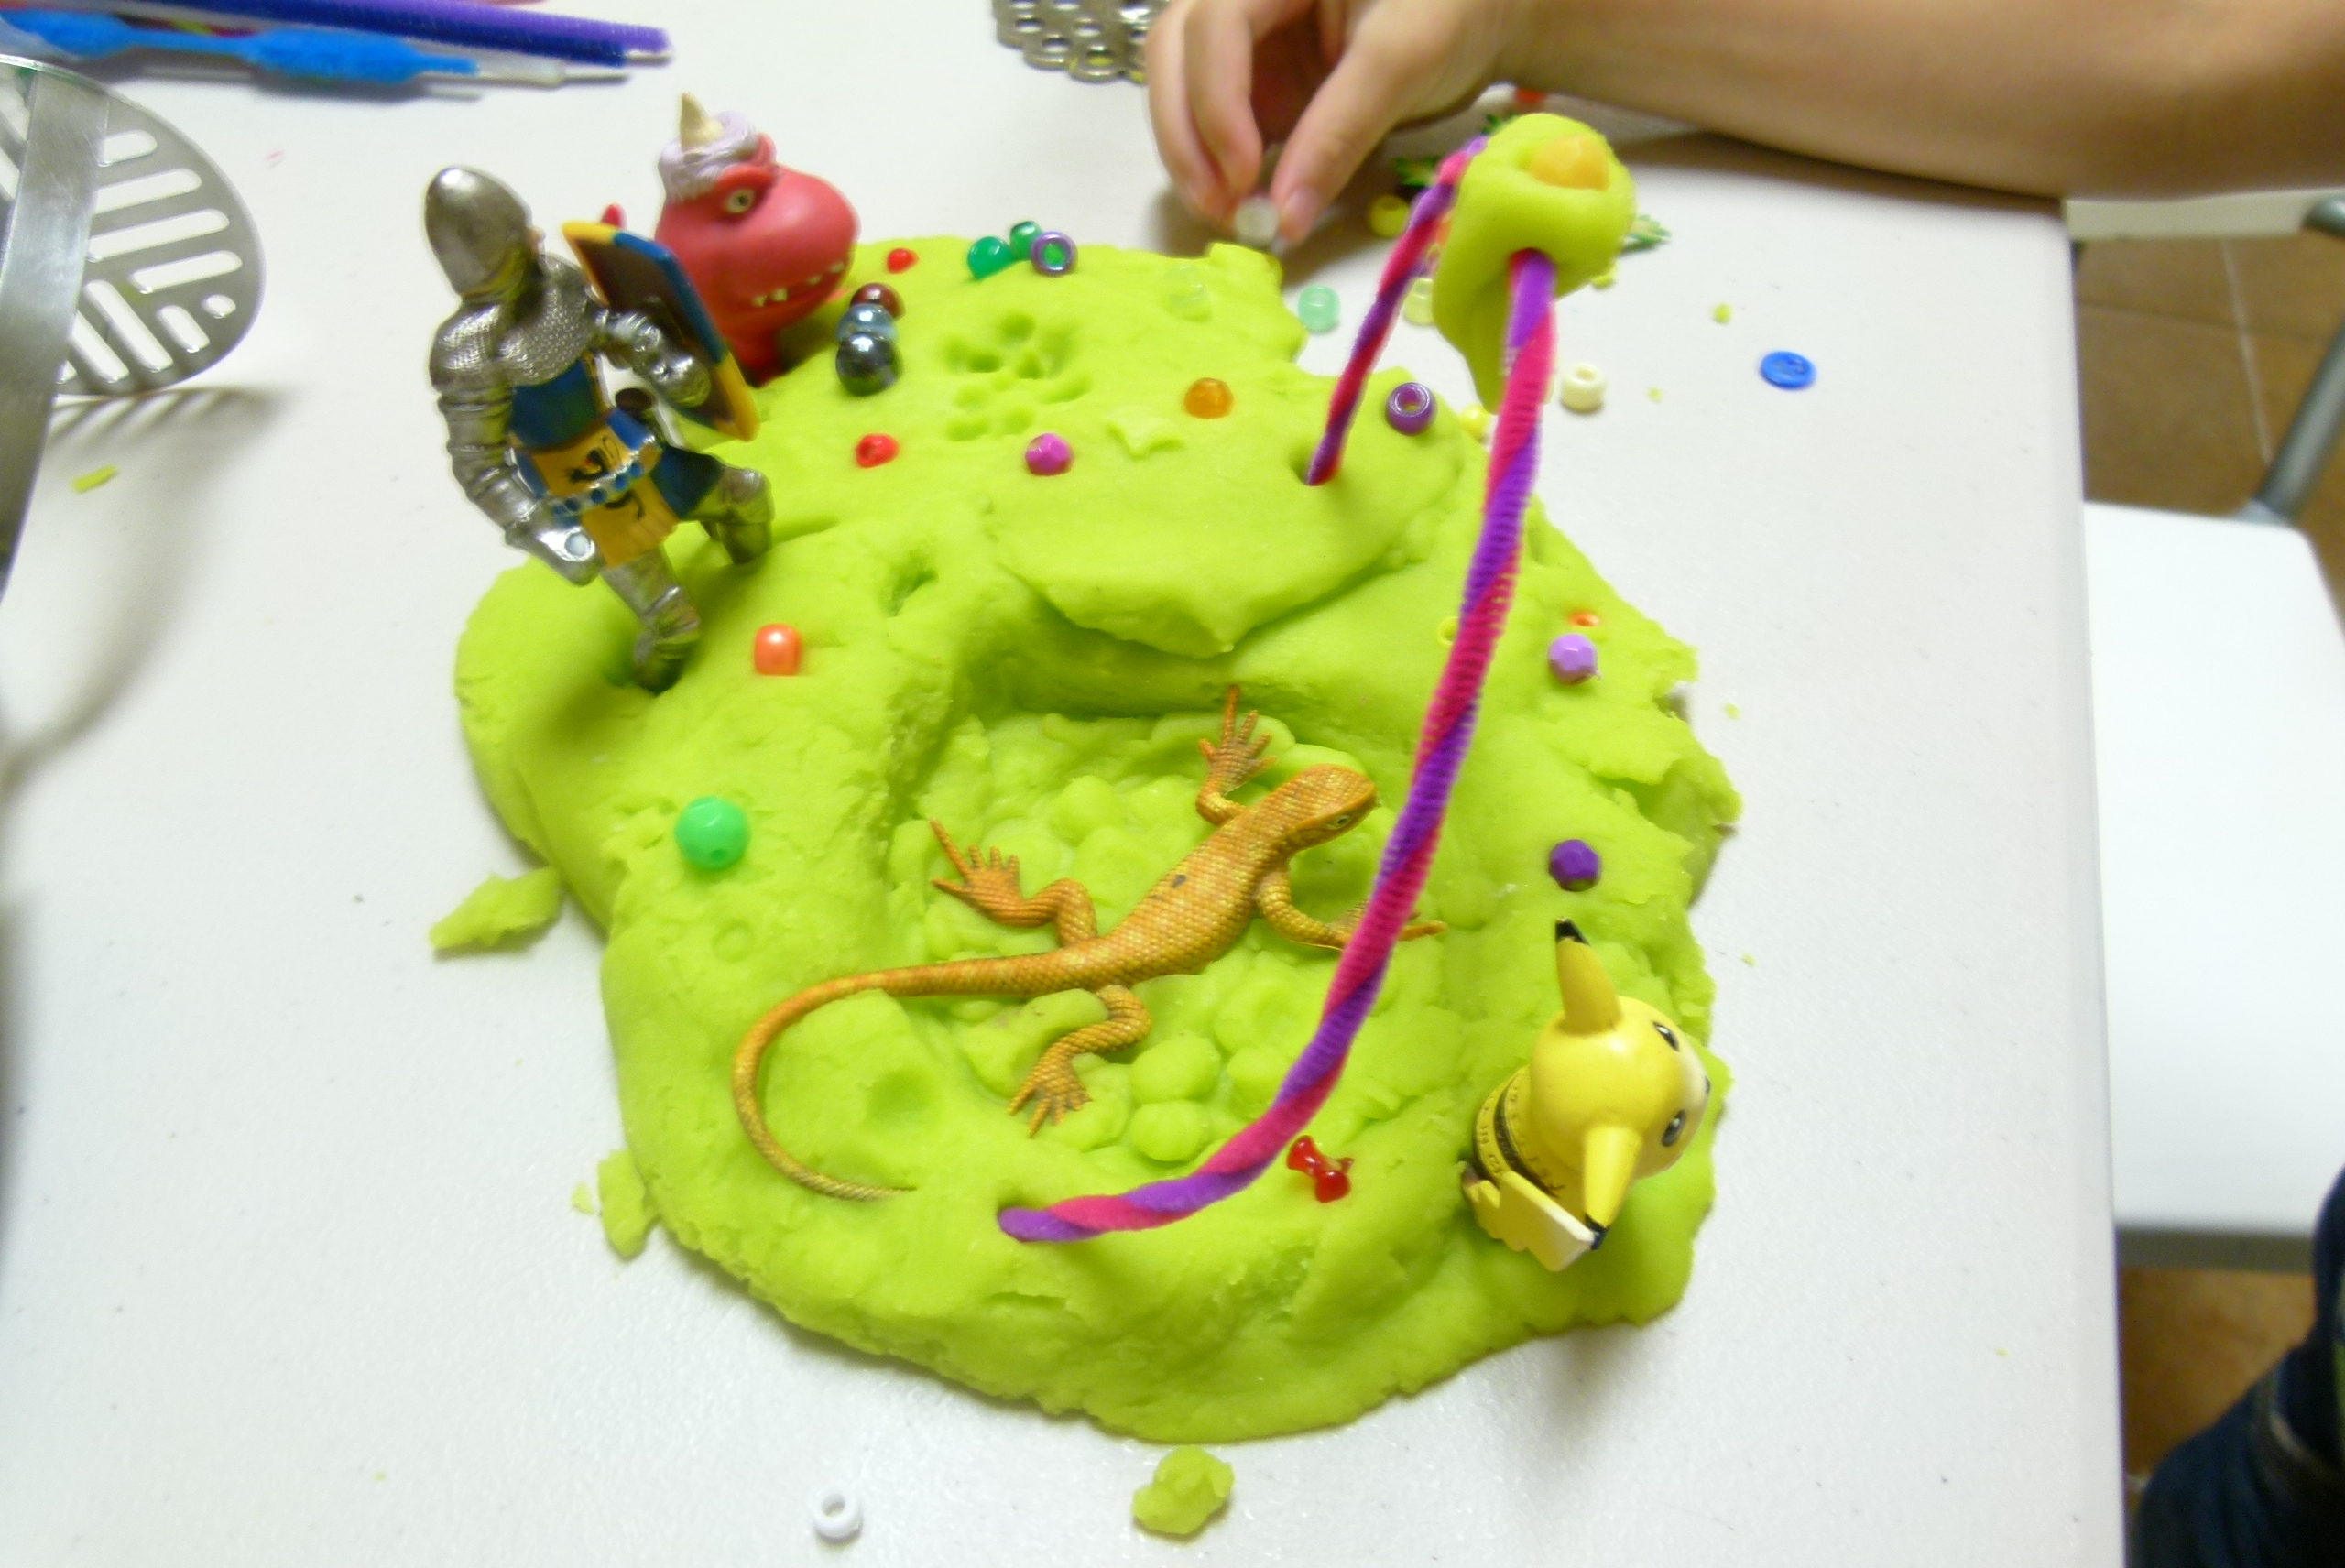
A chocolatey cave with a flag on top! This playdough sculpts well too.
http://theimaginationtree.com/2012/01/easy-chocolate-play-dough-recipe.html
Chocolate Mocha Dough : I made this dough two weeks ago when I didn’t have enough chocolate powder for a double batch of chocolate playdough. (That’s right folks…you are getting the scoop on an entirely new playdough recipe!) I used one half cup chocolate powder and one half cup coffee instead of a whole cup of chocolate powder as a double recipe would call for. I had been given some Folgers coffee which I don’t really care for, but the grounds worked really well for this dough. It also gave the dough some texture in addition to the great scent! The moms really liked the smell of this playdough! At first the kids didn’t, but then it grew on them!

Sand Dough : I used coarse sand that I bought at Home Depot for about $3.00. My students and I liked the pebbly texture. I imagine you could use fine grain sand. There are two basic recipes. One uses glue and one does not. The one with glue can be used to make creations that will harden.
http://www.firstpalette.com/tool_box/art_recipes/sanddough/sanddough.html
http://www.twobigtwolittle.com/2012/06/sandy-playdough.html

Preschoolers exploring sand dough with cookie cutters, pine cones, sticks, and plastic animals.

A sand dough person made by a kindergartener. The hair had food coloring added to the dough.
Fresh Flowers Playdough : A great easy no cook recipe! I happened to have some rose scented hand lotion. I added it to the playdough and it provided a subtle rose scent. I haven’t been a fan of no cook playdoughs because the recipes often come out sticky, but this one was as good as cooked playdough!
http://www.blogmemom.com/fresh-flowers-play-dough-play/
Polymer Clay similar to Sculpey: Really stinky! I think it’s the baby oil that was a bit too overpowering for me. The consistency was nice especially if you let it sit overnight in a plastic bag and then kneaded it again before using. If you want a color it seems to work best to add the color while cooking. You can add food color in when you knead the dough, but that stains hands and takes a lot of kneading to get a uniform color. If you like swirled color though you might prefer to knead the color in after it’s cooked.

Using string to create a textured surface in homemade polymer clay.

Student combined dyed pasta we made with homemade polymer clay.
http://thenewnew.blogspot.com/2011/06/homemade-polymer-clay.html
Dyed Pasta: I thought that my students would enjoy making necklaces with bright colored pasta. When I went to my local grocery stores I looked for pasta that would be easy to string. Naturally the kids came up with all kinds of ideas for ways to use the dyed pastas besides making necklaces which means you don’t have to limit yourself to just those pastas that would work well for stringing. It’s so easy. All you need is a plastic bag with a good sealing top, some pasta, food coloring, and rubbing alcohol. The neon food coloring makes lovely colors. My students of course invented many new colors by mixing food coloring. And they enjoyed turning the bag to watch the dye coat the pasta. The one thing we discovered however is that gel food coloring produces pasta that doesn’t dye well and is sticky.
http://www.artfulparent.com/2010/03/fun-with-dyed-pasta-part-i.html
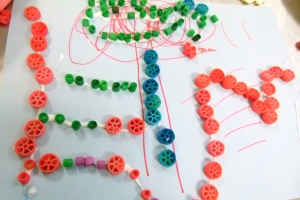
Mixed media pasta!
Puffy Paint: This paint is more like a flour batter. I poured it into some left over squeeze bottles I had from a tie dye kit. The squeeze bottles look like the type of bottles you might squeeze catsup or mustard out of. My students love pouring it from squeeze bottles onto cardboard and watching colors interact. On one blog I saw kids apply the puffy paint with q tips to cardstock. After microwaving they are thrilled with the change in texture, though some prefer the way it looks before microwaving. The paint lasts a long time if you don’t finish it up. I’ve had mine for 6 months now and it’s still good. I had the students use inexpensive acrylic paint to make colors, and once again observed that color mixing is a very absorbing aspect of the activity.

Puff paint before it goes in the microwave.

Puff paint after microwaving. The picture is dry. You can see salt crystals and it has a raised surface.
http://www.learnplayimagine.com/2012/10/homemade-puffy-paint-with-3-simple.html
Snow Paint: Snow paint is made with an equal amount of shaving cream and glue. We added food coloring and students had fun fingerpainting on a tray or table with it. Personally I recommend the tray for easier clean up! Paintbrushes don’t work so well, but I have seen q tips used as a way to control where the paint goes. The most successful method we tried was putting the paint into a sealable plastic sandwich bag, cutting off one corner, and applying the snow paint as if you were using a pastry bag to frost a cake. You can also lay construction paper on designs and pull a print. Sprinkling glitter in is fun too!

A print with lots of texture made from laying construction paper on colored snow paint.

Colored snow paint applied in a plaid pattern with a plastic pastry bag.

I think the student laid another piece of paper on top of the plaid pattern, but she changed her design quite dramatically. Ah….exploration, process, and creativity!
http://www.kiwicrate.com/projects/Shaving-Cream-Snow-Paint-/799
Sidewalk chalk: Very messy activity. Best to do outdoors! Also use paper cups for mixing plaster of Paris. (I saved coffee cups from when I went to the espresso stand.) Never pour wet plaster down a sink! It will clog your sink. Plaster is ground up gypsum rock, so if you spill it on gravel or grass it will breakdown and mix in with the soil. We used inexpensive acrylic paint for colorant. We poured our colored mixture into Dixie cups but you can use molds or ice cube trays. When the chalk is dry tear off the Dixie cup or pop it out of the mold. The chalk works well and the kids loved it. Too much acrylic paint prevents the chalk from hardening properly. We found this out because one boy was so into mixing his color that he put in a lot of paint and it never hardened properly.
http://www.iheartnaptime.net/homemade-sidewalk-chalk/
There are a lot of other chalk-like recipes that I haven’t tried such as sidewalk chalk paint. Perhaps that will happen this coming school year! Here’s a great link for a variety of chalk-like recipes.
http://www.growingajeweledrose.com/2013/07/homemade-sidewalk-chalk-play-recipes.html
Colored Glue: The easiest recipe ever! Just glue and acrylic paint. And kids absolutely go gaga over it! We found it was fun to swirl the glue onto surfaces with popsicle sticks. Just cover your plastic storage container with a plastic lid or plastic bag. The glue became a decorating element as well as a sticking tool.

Drizzling glue with a popsicle stick was a very mesmerizing and zen like activity for my younger students.
Home made glue: This stuff really works, though you don’t end up with much glue compared to the cost of the ingredients. Kids did like seeing the change from liquid to glue when the vinegar was added.
http://www.devotionalmotherhood.com/2012/02/science-activity-homemade-glue.html
Baking soda clay: It has an interesting soft and very fine texture. It tends to crack during the drying process and breaks easily when dry. So this is a recipe I do not recommend. However if you try it and are successful, I’d love to hear your tips and tricks!
http://www.ilovefarmweddings.com/2012/09/17/handmade-clay-holiday-ornament-favors/
Alcohol ink: I tried making my own ink pads with sponges and homemade alcohol ink. The glycerin seemed to make the ink sticky. The ink really stains hands and I imagine clothing because you use powdered dye for the color. Plus the results were just not that great. I never even let the kids try this as I wasn’t highly enamored with the results.
http://www.ehow.com/how_4964580_make-alcohol-ink-rubber-stamping.html
Corn Syrup Paint: The kids enjoy the fact that this paint tastes good, and they like mixing the colors. The paint is sticky and very shiny. It’s a fun experience, but probably best to do at home with your own children as the paint is sticky and it’s hard to transport home from school.

Mermaid painting created by a 10 year old Marie.

Crayon can be used with corn syrup paint as a resist creating barriers where paint will not spread. this mixed media piece created by 4 year old Maddy.
Thanks to all of the bloggers that shared their recipes and photos! Thanks to all those Pinterest pinners for sharing their pins! And most especially thanks to my students that zestfully dove into making these recipes and allowed me to share their creations! I have quite a few more recipes I’d like to try, and hopefully this school year I’ll have more opportunities to do that!


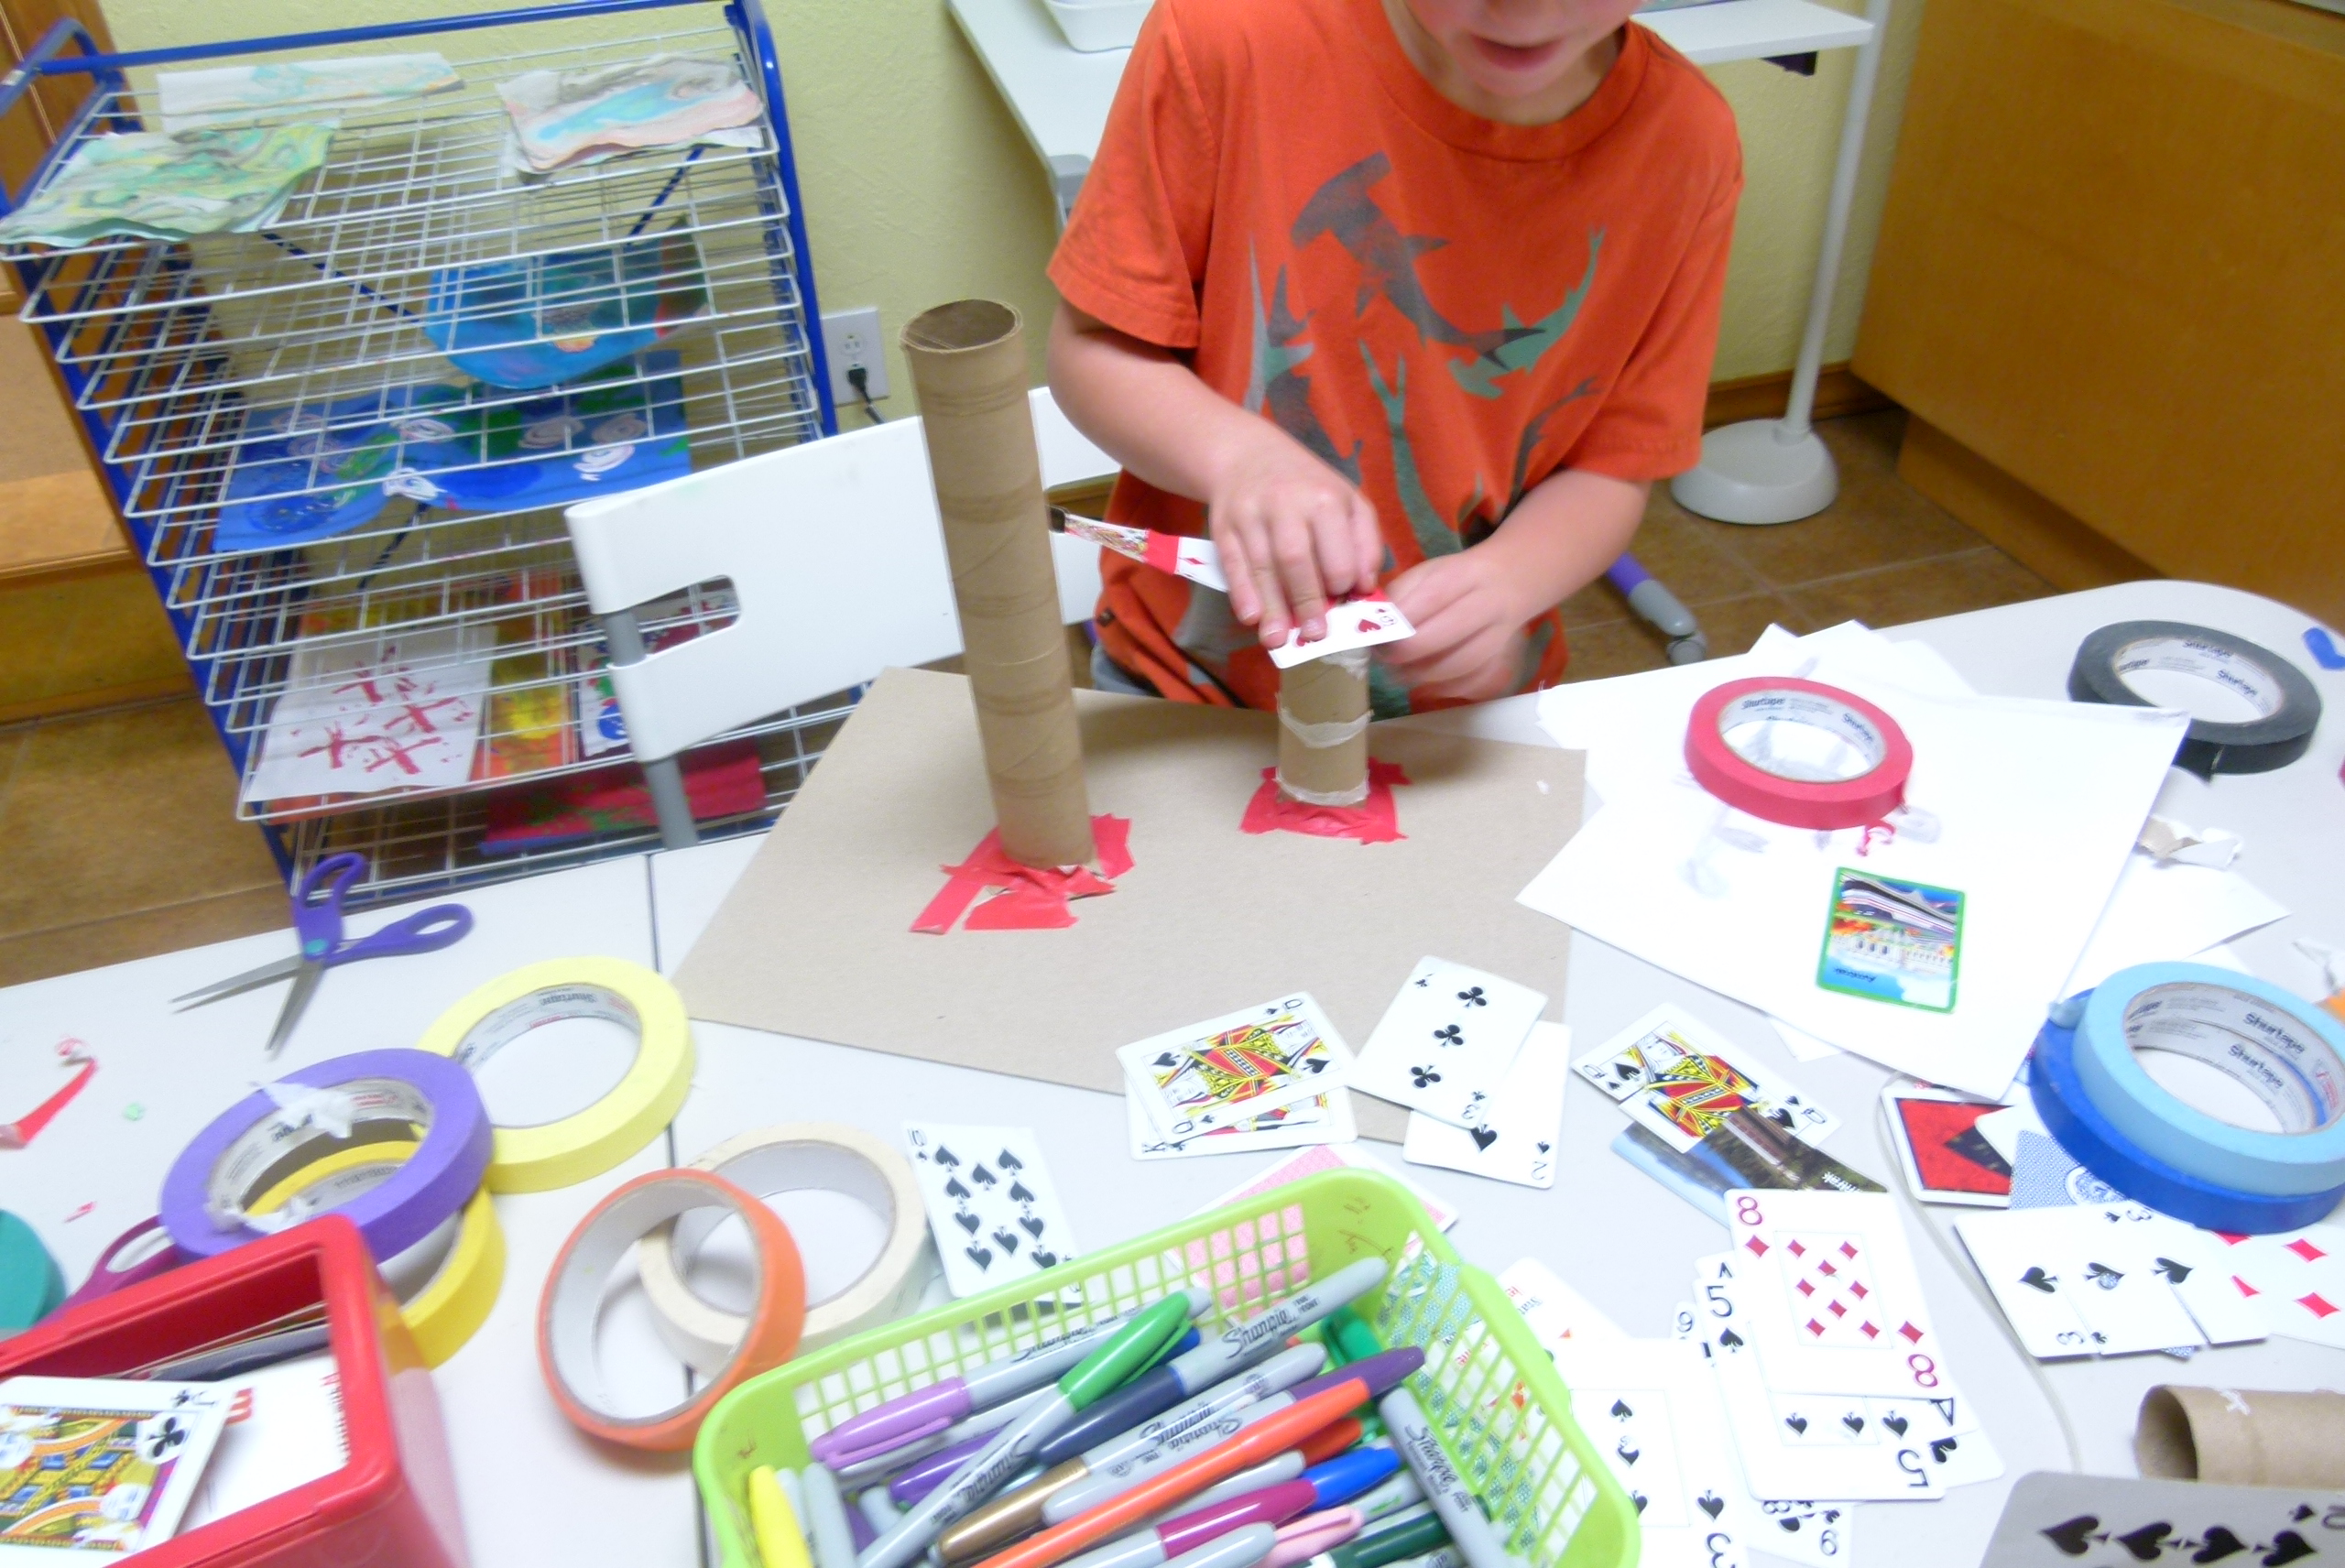
 I like how the children combined two types of building materials and the stuffed animals in this creation. I imagine the animals were vying for who would be king of the hill!
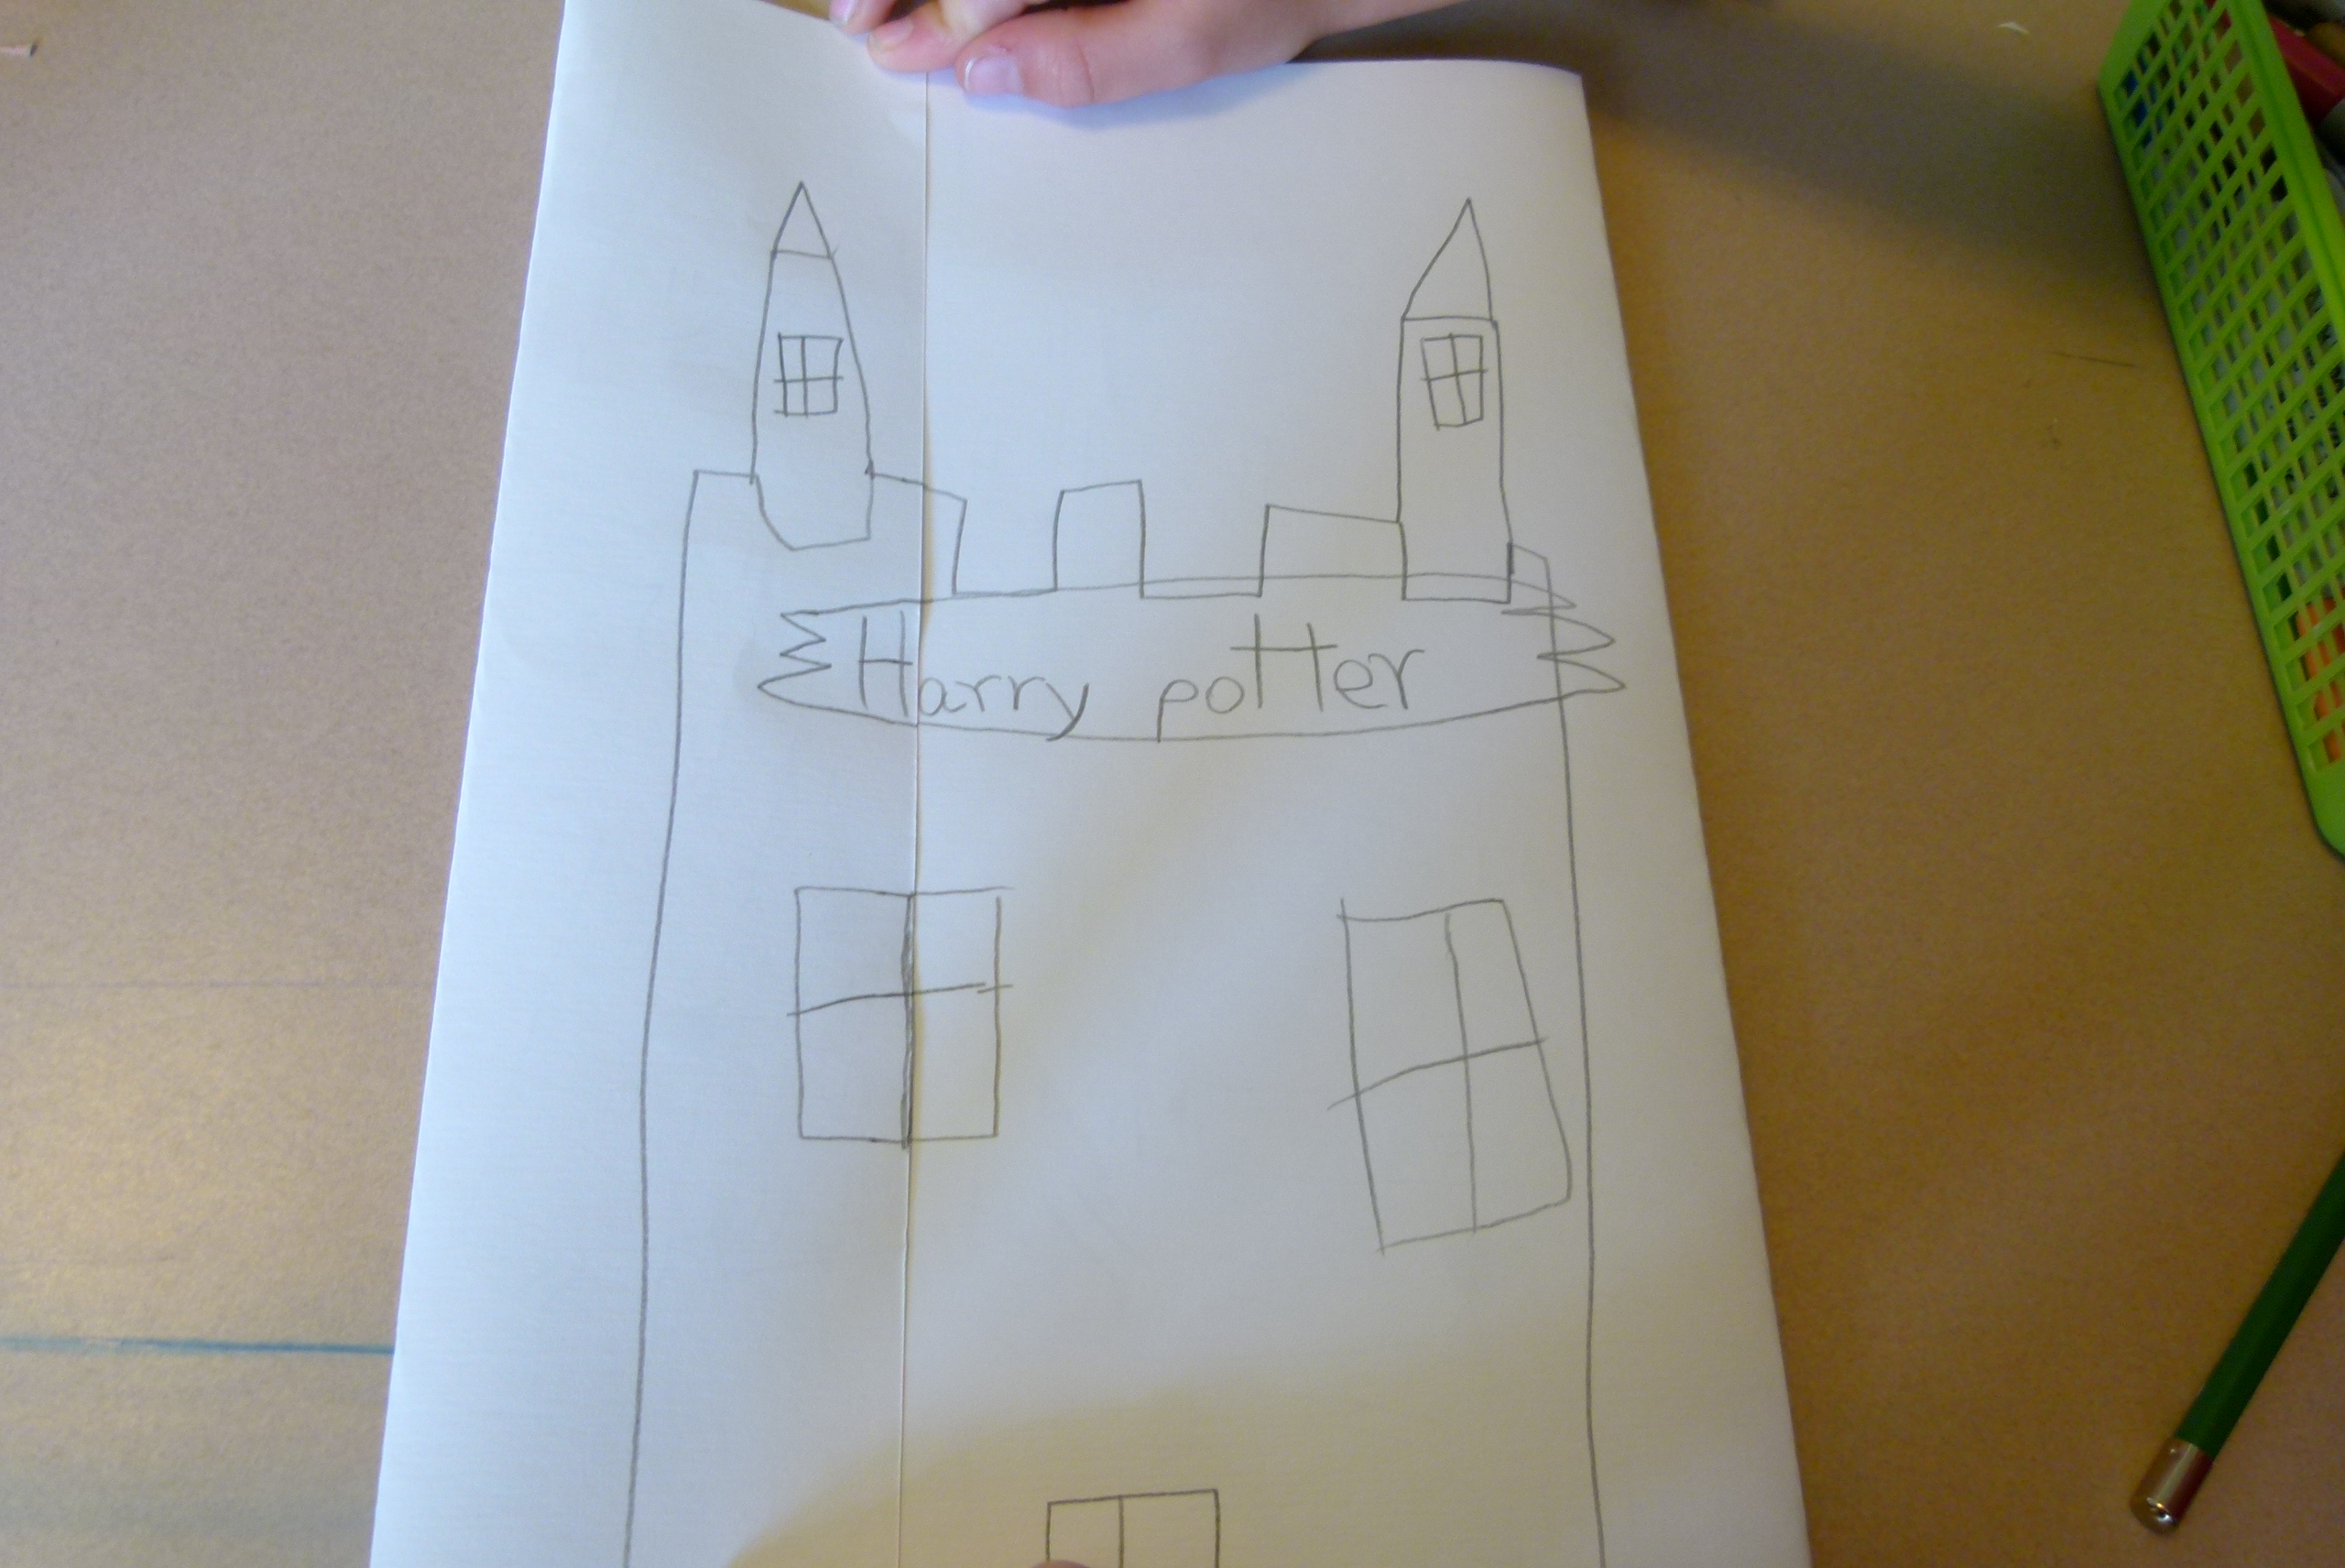
 This week our special letter was H. I saw a simple craft to create a house on Pinterest. I love how my students made such a variety of houses!